Deutsch
 lingua italiana
 日本語
日本語

The traditional newspapers and magazines are saying that smart TVs for just £22 are coming, and of course the Raspberry Pi can turn an ordinary flat-screen LCD or plasma TV into a smart TV, thanks to someone porting XBMC, the popular software that brought us Raspbmc.
Prepare Raspbmc
You should have installed Debian for the Raspberry Pi following a previous article and it should be working fine.
In order to install Raspbmc, several things need to be prepared. The first thing is a new SD card - the previous one should be used in a normal environment; the SD card is actually the hard drive of the Raspberry Pi, so if it is overwritten, it can only be repaired by flashing the image again. Probably equivalent to reinstalling the system. It is not necessary to use a new SD card, but a new one is recommended. A microSD plus an SD card holder is also possible.
Whichever option you choose, the card will have to be formatted first, so insert the card into a card reader and connect it to your PC before proceeding to the next step.
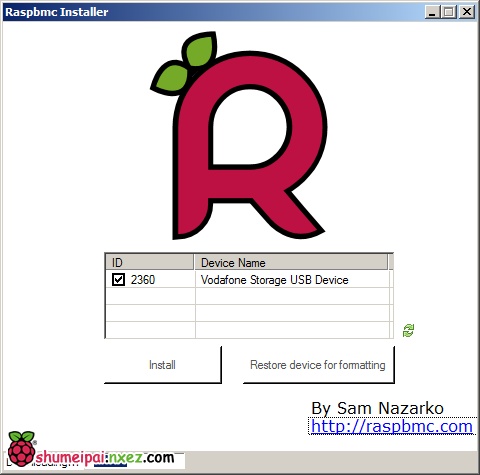
Then, download the Raspbmc installer. Once the download is complete, unzip and run the installer.exe file.
Your SD card should be displayed in the installation window, select the small box in front of the SD card, and then click Install, the software will install Raspbmc on the SD card. When the "Congratulations" message appears, you can unplug the card and plug it into your Raspberry Pi.

Setup Raspbmc
Install the Raspbmc SD into the Raspberry Pi, turn on the device, and ensure that the device is connected to the external network, because during the installation process, there are still some data to be downloaded from the Internet, so it is necessary to be connected to the Internet.
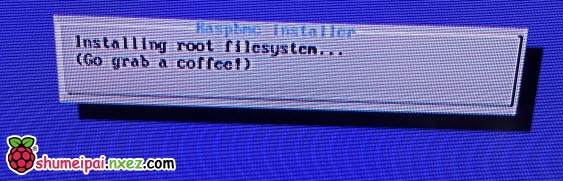
You don't have to do anything during this process - unless the network connection is lost, the network cable transmission is wrong or the SD card is broken - so now sit back and have a cup of coffee while you wait (that's what Raspbmc's installation instructions say Said!).
What you can do with XBMC on Raspberry Pi
Raspbmc is a port of the popular media center software XBMC to the Raspberry Pi. So the UI and functionality are largely the same.
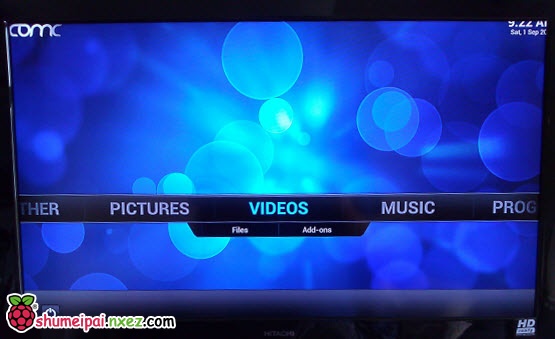
Pictures, videos, and music all have their own menus, and there is a small software that can receive the weather conditions of the three places. Media sources need to be added manually, you can use the plugin manager to install plugins, there are many plugins to choose from.

The best thing about XBMC/Raspbmc is that it is easy to use, with a clean interface and good visual effects.
For more instructions on using Raspbmc, please go to the XBMC wiki.
Improved Raspbmc
Building this kind of media center on the Raspberry Pi is relatively simple, and without further ado, you can connect a media and enjoy the fruits of your (not so onerous) labor.
But this system is not perfect, it does not support some file encoding formats. Decoders for MPEG-2 and VC-1 have to be bought. Fortunately these codecs are relatively inexpensive and can be found on the Raspberry Pi website.
Even without these improvements, your Raspberry Pi is already a portable home theater.