Deutsch
 lingua italiana
 日本語
日本語

The micro:bit is a pocket-sized ARM core-based programmable computer that allows anyone to innovate on a small board. micro:bit is an open-source hardware release with youth programming education in mind, hoping to help young people get involved in hardware creation and software programming with the help of micro:bit, and to bring out the richness of their imagination. Through a major partnership with 31 organizations, the BBC is offering a free micro:bit to every Year 7 or equivalent school-age child aged 11/12 across the UK.
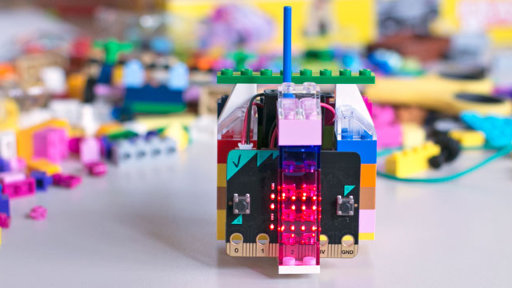
Introduction of micro:bit's performance
micro:bit has a small area of 5cm*5cm, but its performance cannot be underestimated. This board uses the ARM Cortex-M0-based nRF51822 processor, integrated Bluetooth function, on-board 5×5 LED dot matrix, accelerometer, three-axis geomagnetic and thermometer resources. It also leads to a 20+5pin expansion interface, which can easily handle a variety of programming-related teaching and development scenarios, including writing video games, robot control, science experiments and wearable device development. The excellent performance provides ample room for children's imagination to show.
Configuration of micro:bit.
25 individually programmable LEDs
2 programmable buttons
Physical link pins
Light and temperature sensors
Motion sensors (accelerometer and compass)
Wireless communication, radio and Bluetooth
USB interface
Hands-on with micro:bit
BBC micro:bit is an ARM core-based, pocket-sized programmable computer for youth programming education, so it's very easy to get started, requiring only 5 steps.
To help young people learn to program more easily, micro:bit can be programmed on any platform, including cell phones, Macs, PSs, Chromebooks, Linux, and even Raspberry Pi.
Let's start with Windows as an example
Step 1 Connecting to Windows
Use the micro:bit USB port to connect to your Windows computer, and find the folder "MICROBIT" on your computer, which is micro:bit. Note that this is not a normal USB drive!
Step 2 Programming on the computer
You can program the micro:bit using the MakeCode compiler platform (drag-and-drop) or Python (text-based).
Overseas version: Blocks Editor online programming platform
Domestic version: MakeCode online programming platform
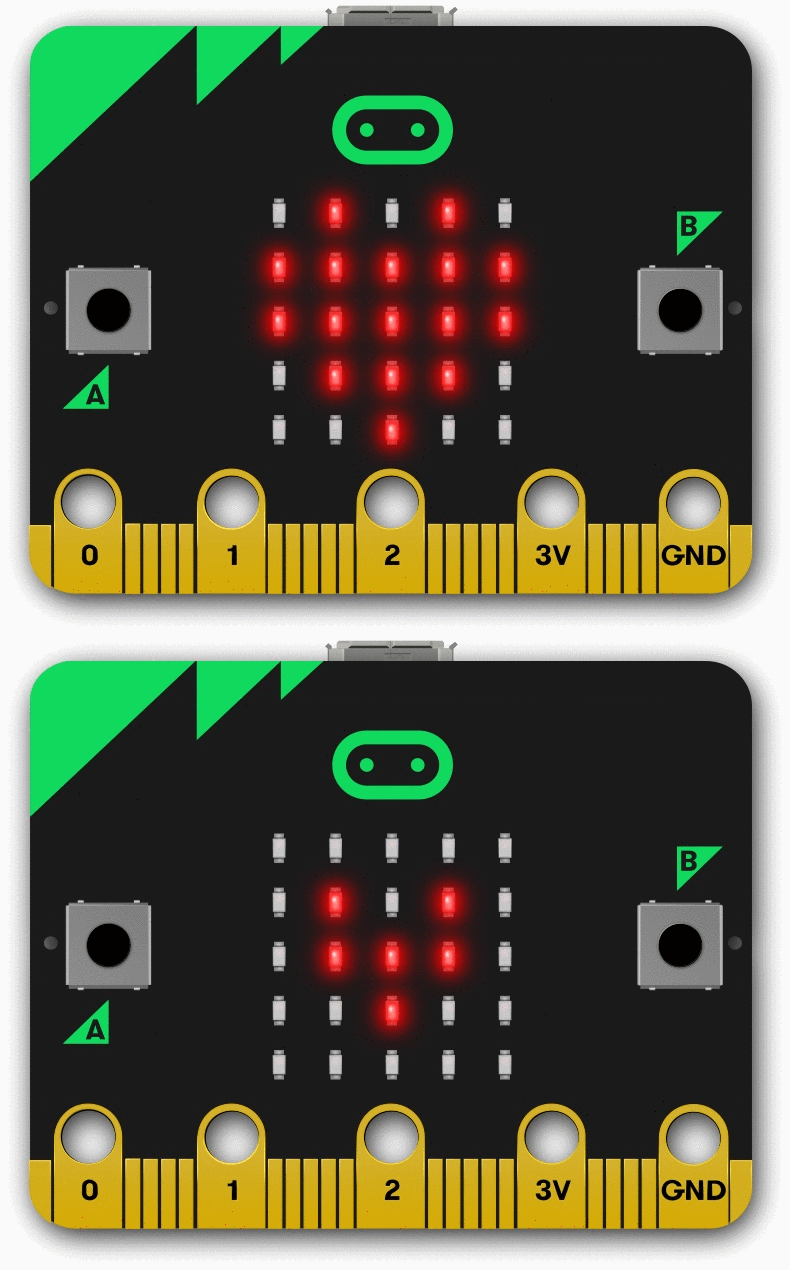
The MakeCode editor uses drag-and-drop blocks and the code is written in JavaScript. Try the following steps to complete a heart shape.
Micropython online programming platform. MicroPython is Python that can run on a microcontroller, it doesn't need any tools or environment, just a text tool and a development board to develop and compile.
Step 3 Download to your computer
Click the Download button in the editor and you will download a "hex" file that can be read in micro:bit. After downloading the "hex" file, save it to the "MICROBIT" folder. You can also select "Send to →MICROBIT".
Step 4 Run
While you are coding the micro:bit is paused and the yellow LED on the back of the board keeps blinking, the program will run automatically when the compilation is finished.
Note that the MICROBIT driver will automatically pop up and return each time you program, but the hex file will disappear. micro:bit can only receive hex files and will not store anything else!
Step 5 Mastering
The above describes the basic steps about compiling micro:bit, but you still need to practice more on different platforms to really master micro:bit and develop different ways to play with it. You can find fun examples online to try.
PI-SUPPLY is a professional component supplier, providing everything you need for your component project. We also stock a huge selection of Raspberry pi, Arduino, micro:bit, rock pi and nvidia manufacturer accessories from your favorite brands.
Introduction of micro:bit's performance
micro:bit has a small area of 5cm*5cm, but its performance cannot be underestimated. This board uses the ARM Cortex-M0-based nRF51822 processor, integrated Bluetooth function, on-board 5×5 LED dot matrix, accelerometer, three-axis geomagnetic and thermometer resources. It also leads to a 20+5pin expansion interface, which can easily handle a variety of programming-related teaching and development scenarios, including writing video games, robot control, science experiments and wearable device development. The excellent performance provides ample room for children's imagination to show.
Configuration of micro:bit.
25 individually programmable LEDs
2 programmable buttons
Physical link pins
Light and temperature sensors
Motion sensors (accelerometer and compass)
Wireless communication, radio and Bluetooth
USB interface
Hands-on with micro:bit
BBC micro:bit is an ARM core-based, pocket-sized programmable computer for youth programming education, so it's very easy to get started, requiring only 5 steps.
To help young people learn to program more easily, micro:bit can be programmed on any platform, including cell phones, Macs, PSs, Chromebooks, Linux, and even Raspberry Pi.
Let's start with Windows as an example
Step 1 Connecting to Windows
Use the micro:bit USB port to connect to your Windows computer, and find the folder "MICROBIT" on your computer, which is micro:bit. Note that this is not a normal USB drive!
Step 2 Programming on the computer
You can program the micro:bit using the MakeCode compiler platform (drag-and-drop) or Python (text-based).
Overseas version: Blocks Editor online programming platform
Domestic version: MakeCode online programming platform
The MakeCode editor uses drag-and-drop blocks and the code is written in JavaScript. Try the following steps to complete a heart shape.
Micropython online programming platform. MicroPython is Python that can run on a microcontroller, it doesn't need any tools or environment, just a text tool and a development board to develop and compile.
Step 3 Download to your computer
Click the Download button in the editor and you will download a "hex" file that can be read in micro:bit. After downloading the "hex" file, save it to the "MICROBIT" folder. You can also select "Send to →MICROBIT".
Step 4 Run
While you are coding the micro:bit is paused and the yellow LED on the back of the board keeps blinking, the program will run automatically when the compilation is finished.
Note that the MICROBIT driver will automatically pop up and return each time you program, but the hex file will disappear. micro:bit can only receive hex files and will not store anything else!
Step 5 Mastering
The above describes the basic steps about compiling micro:bit, but you still need to practice more on different platforms to really master micro:bit and develop different ways to play with it. You can find fun examples online to try.
PI-SUPPLY is a professional component supplier, providing everything you need for your component project. We also stock a huge selection of Raspberry pi, Arduino, micro:bit, rock pi and nvidia manufacturer accessories from your favorite brands.